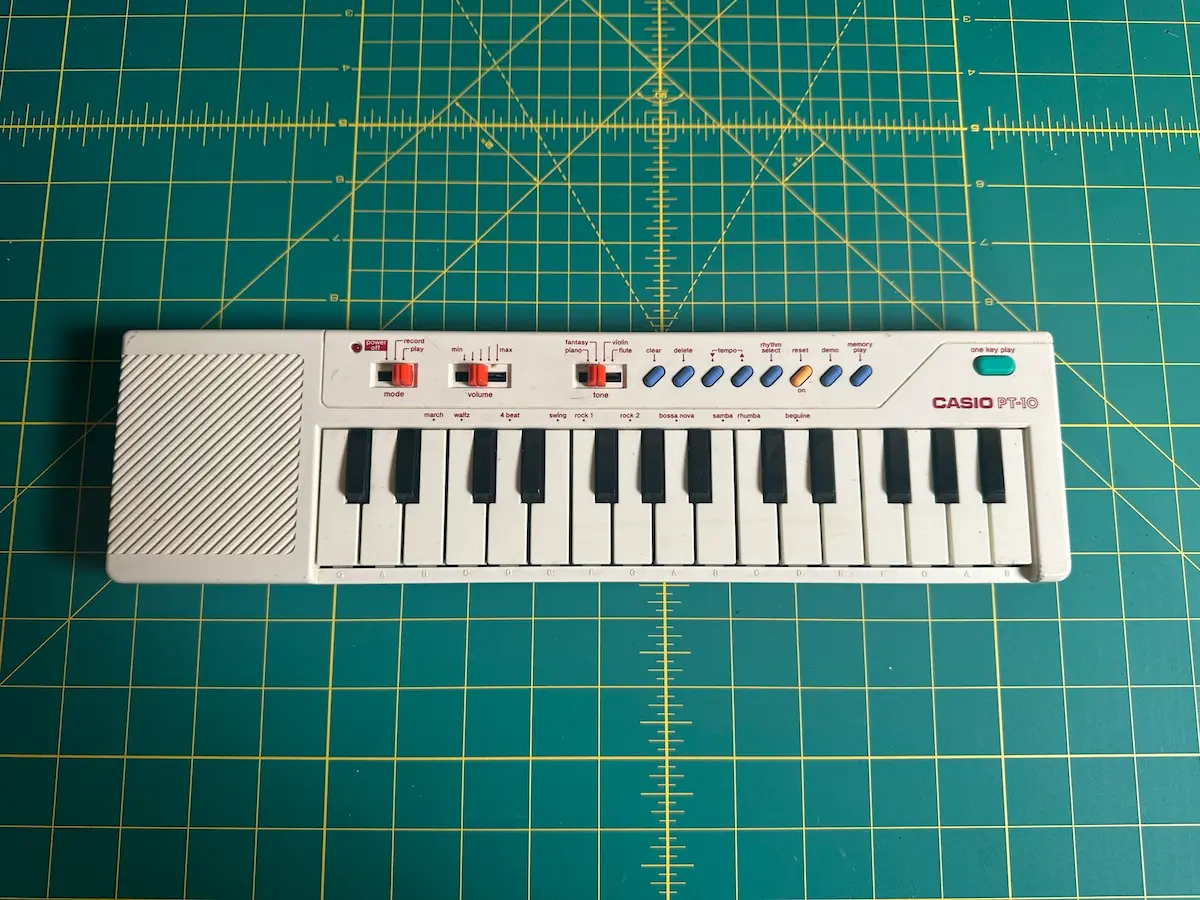
On my last trip to my local Music Go Round store, I picked up a Casio PT-10 to create some samples. The problem? It has no built in line out. So let’s mod it!
What You’ll Need
- Casio PT-10 (or similar vintage keyboard with no audio output)
- Soldering iron
- Solder compound
- Small screwdrivers
- 1/4″ female socket connector (the one I used for this mod, affiliate link)
- Fan (to keep room ventilated while working)
Bear with me—I’m not an electronics or wiring professional, but I made this work. I had a few errors along the way, but I hope this guide helps!
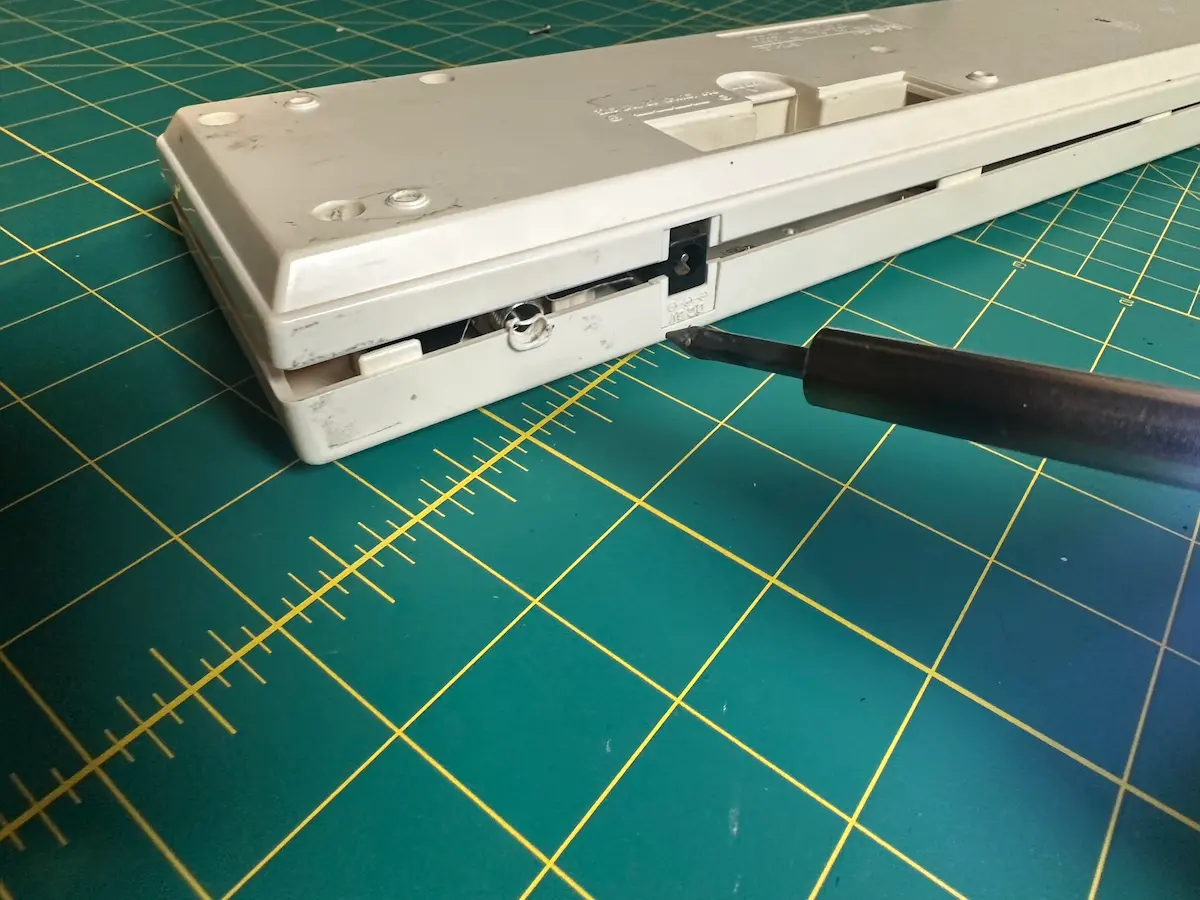
Step 1: Use screwdriver to take PT-10 apart
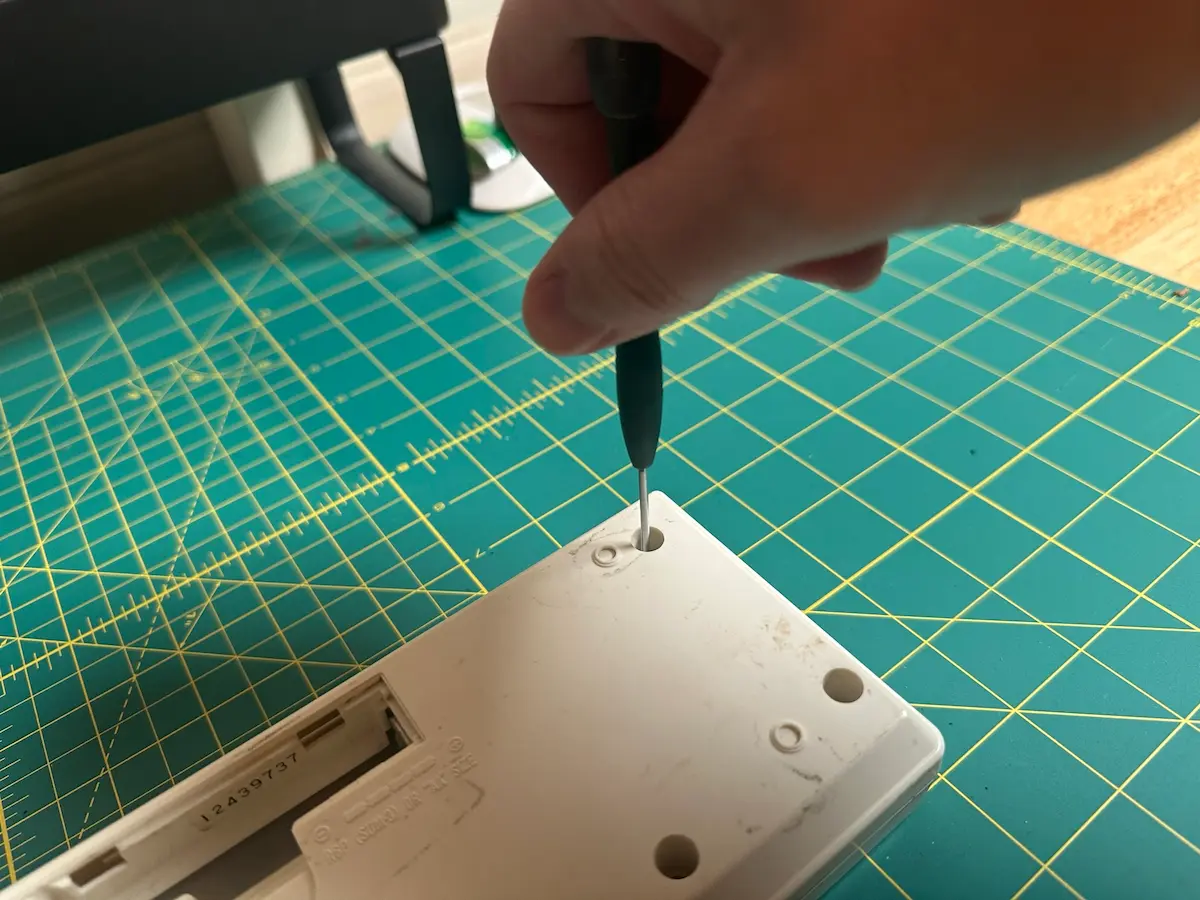
I found the screws to be pretty tight, so be sure to apply a lot of force while unscrewing them to avoid stripping.
Step 2: Carefully remove the backplate from the keyboard
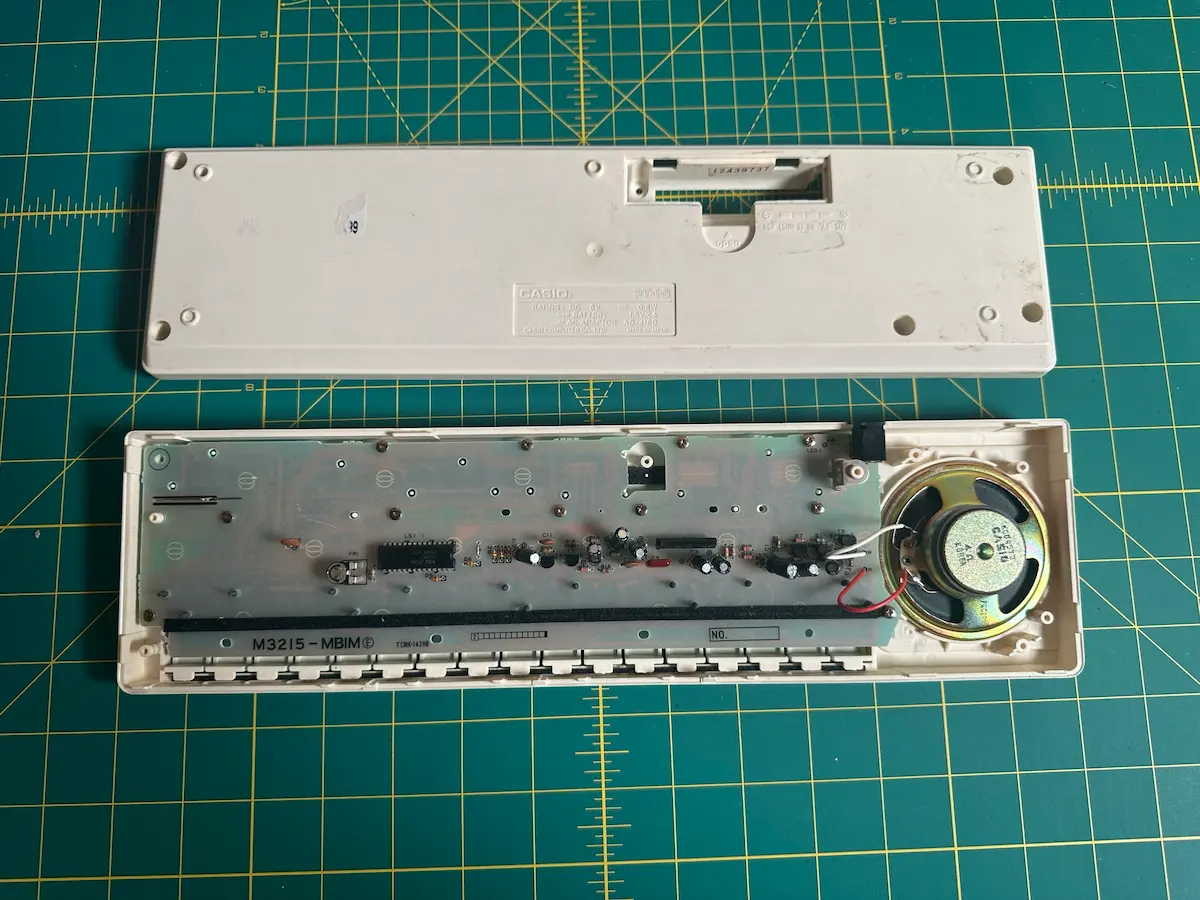
The keyboard was a little stuck, so I had to use a bit of force to get it apart. Be careful during this step and be sure to place the screws in a safe place where you won’t lose them.
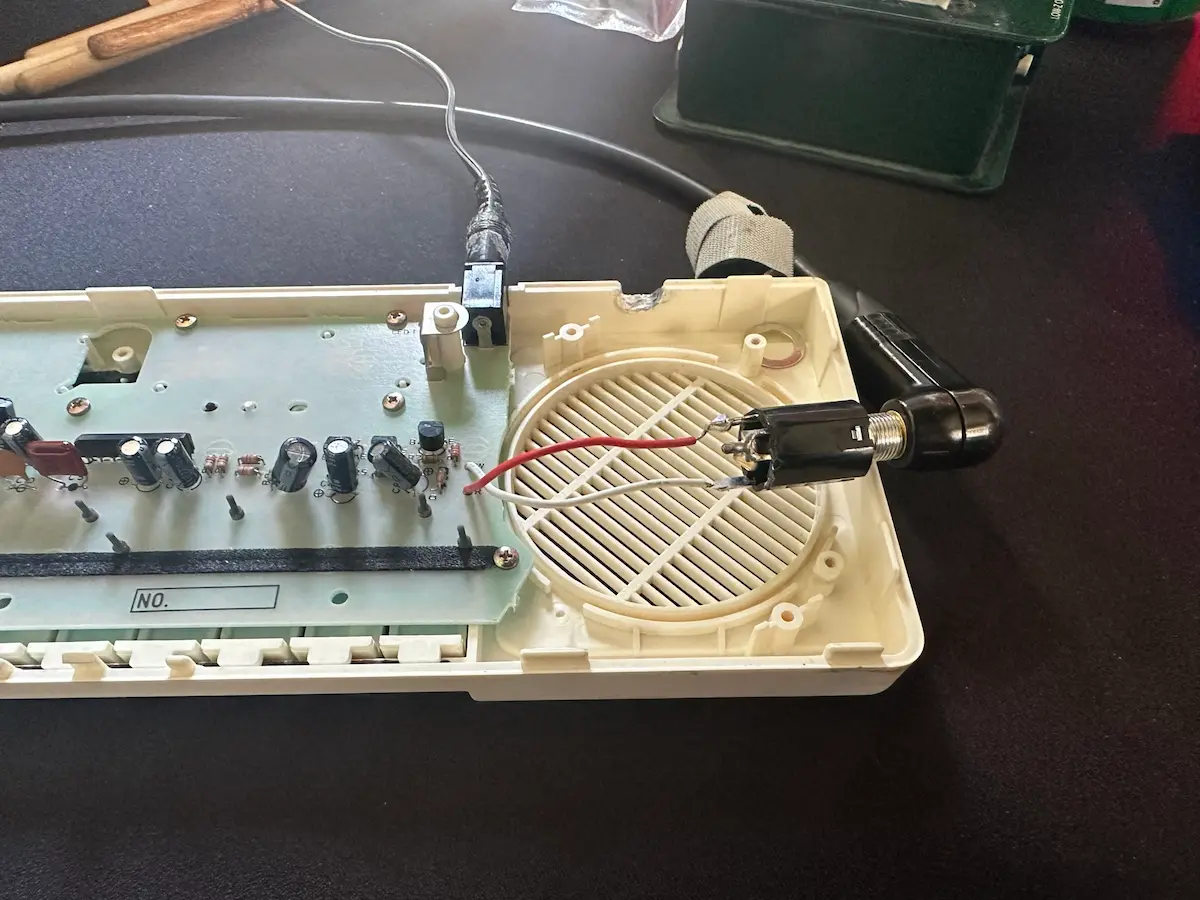
Step 3: Remove both wires from the speaker
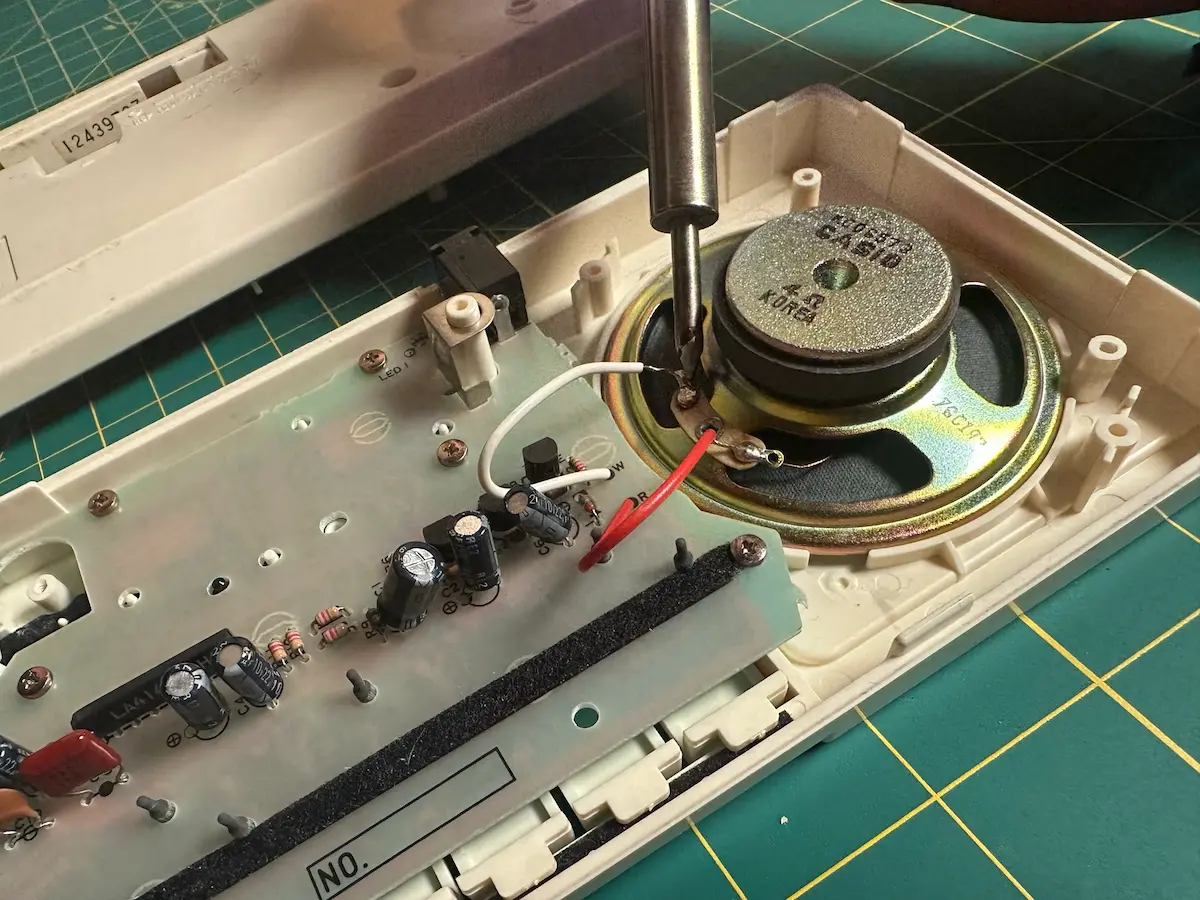
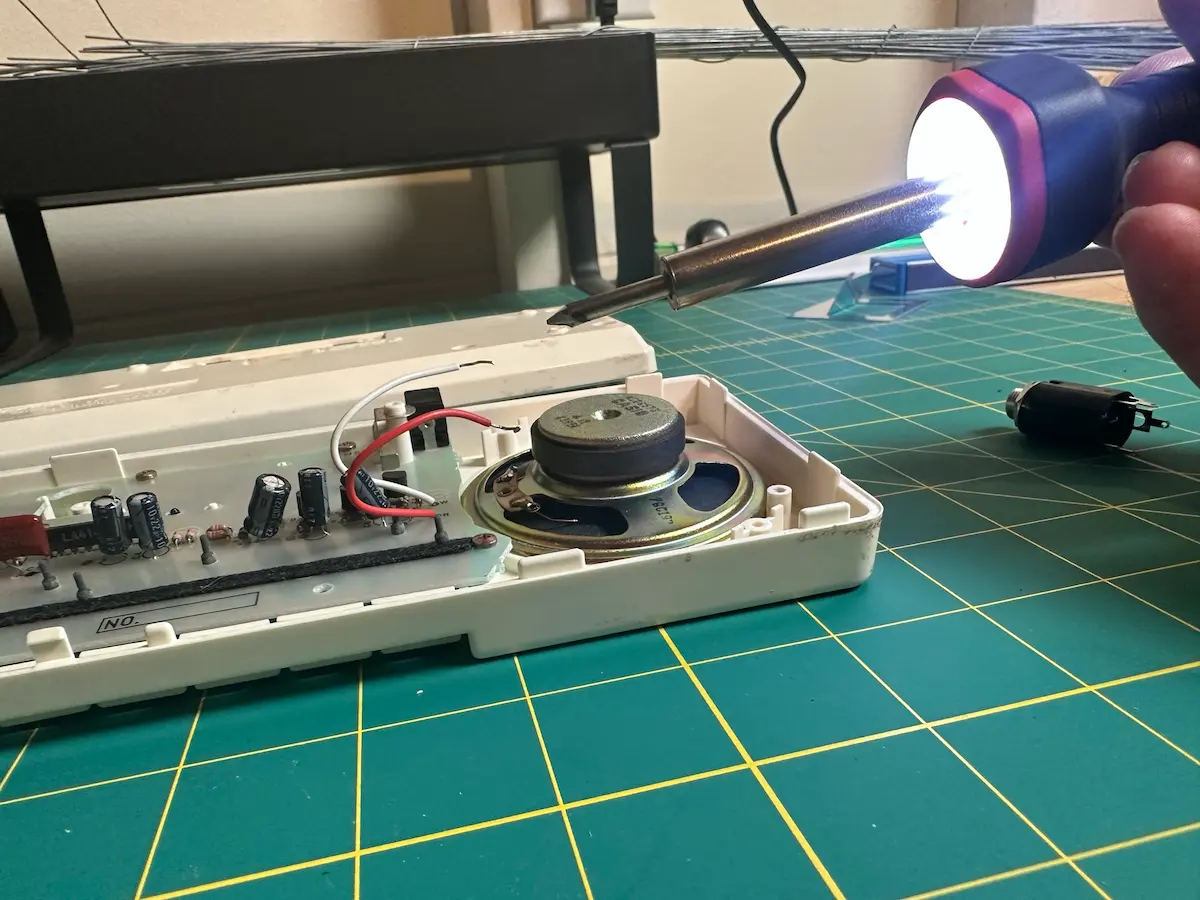
Heat up your soldering iron and remove both wires from the speaker. I bent the cables up to make it easier to work with for the next steps.
Step 4: Remove speaker
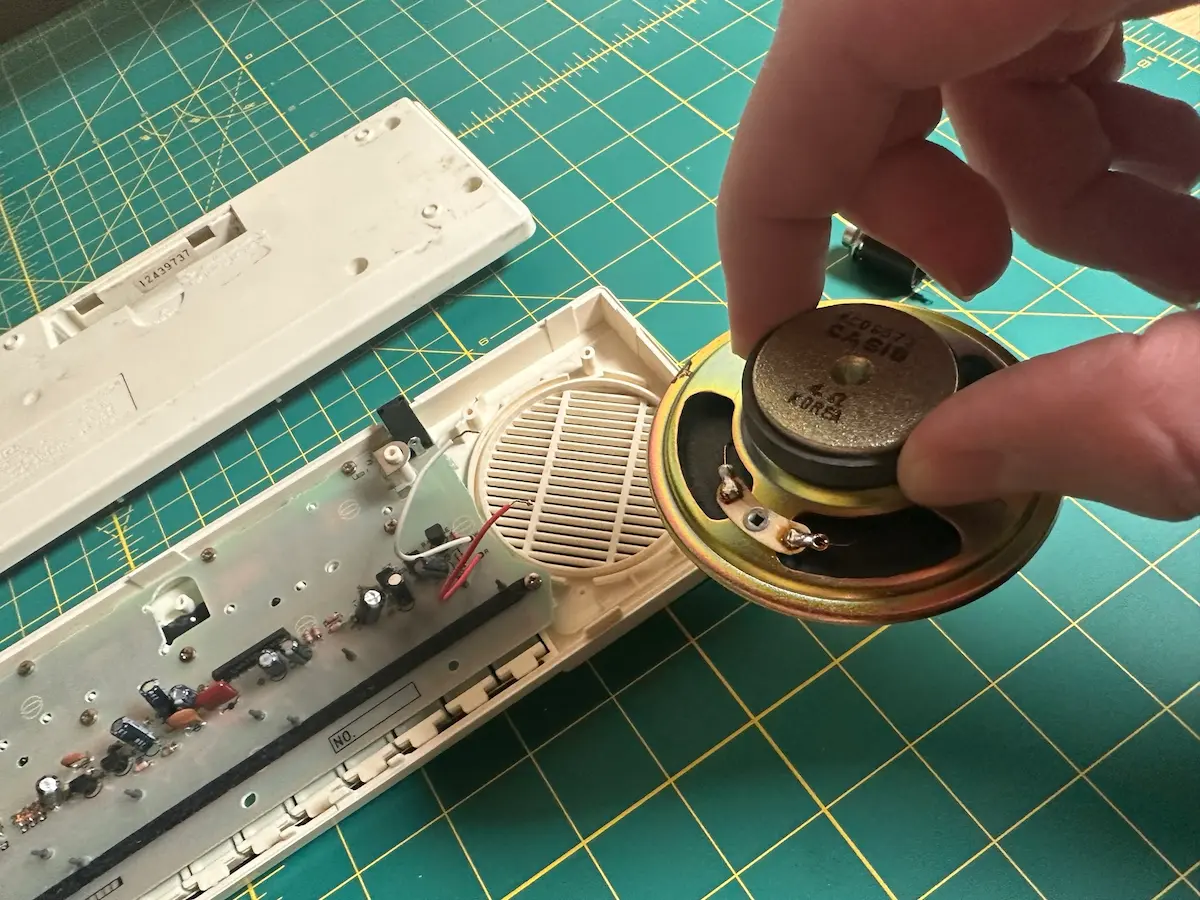
The speaker on the PT-10 is not adhered, so you can’t just lift it out of the housing. The downside with this mod, is you no longer can use the speaker. For me, it doesn’t matter. I’m trying to record and sample the PT-10 and the speaker is garbage.
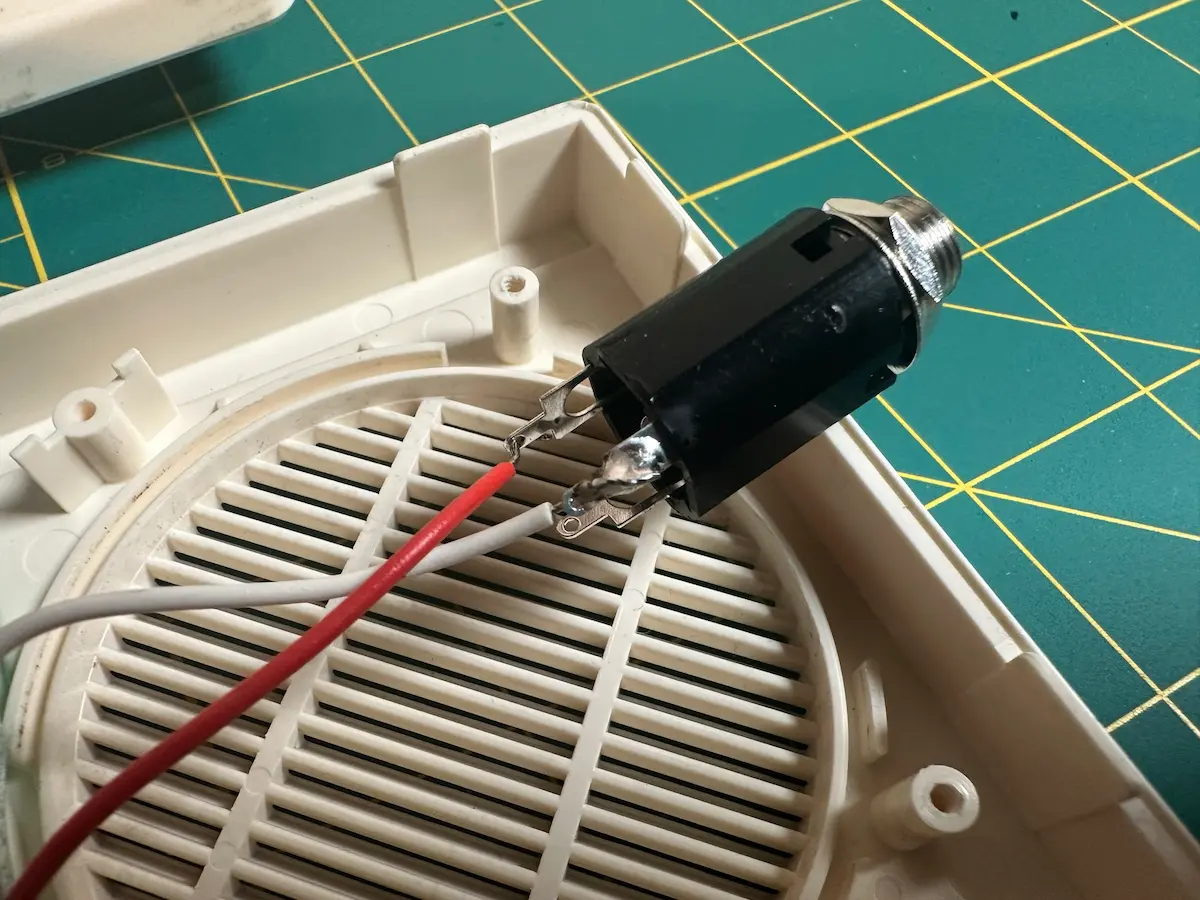
Step 5: Solder to the 1/4″ connector
First, insert the cables into the connector holes.
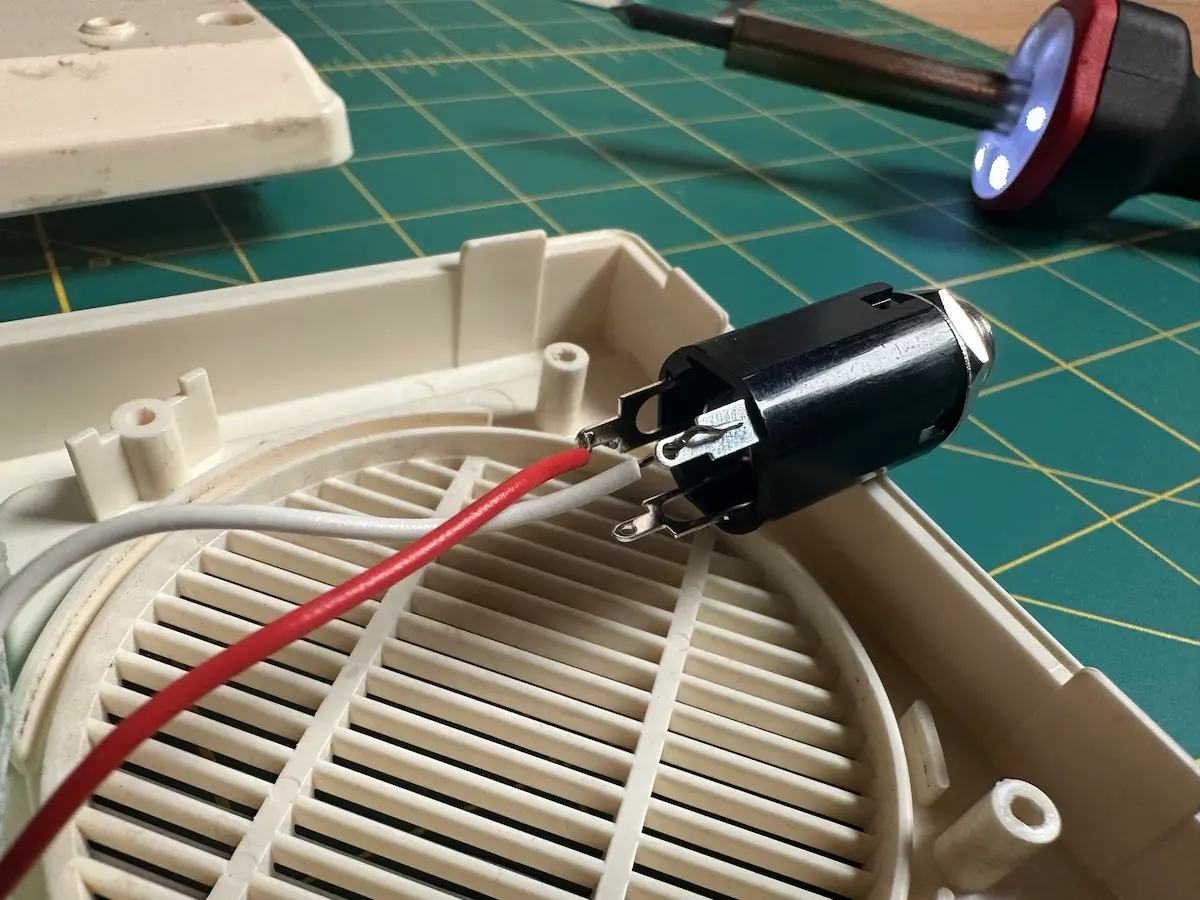
Using your iron, solder the white cable to the ground connector and the red cable to one of the other connectors. You may need to trial and error the other connector, as the first time I soldered it, I didn’t get any signal when using an instrument cable. I had to re-solder it to the other one.
Step 6: Test your connector
Before sealing up the unit, be sure to test it. For me, I went into my studio and used an instrument cable with my audio interface for testing.
Step 7: Drill a hole for the 1/4″ connector
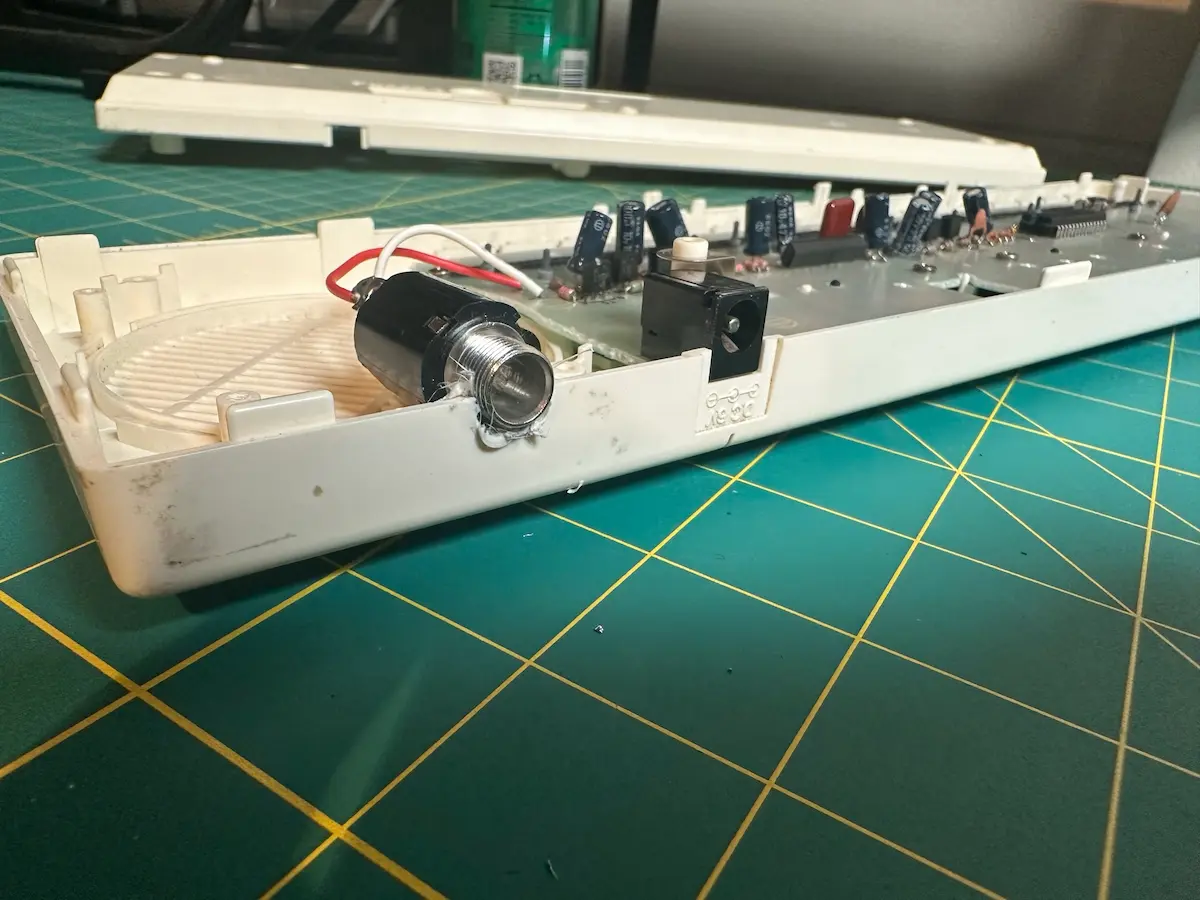

I strongly advise you use a drill to create the hole for the audio output. I decided to use my soldering iron and burn a hole, but without adequate ventilation, this is not a good idea. It works in a pinch, but you’ll get not as perfect of a result.
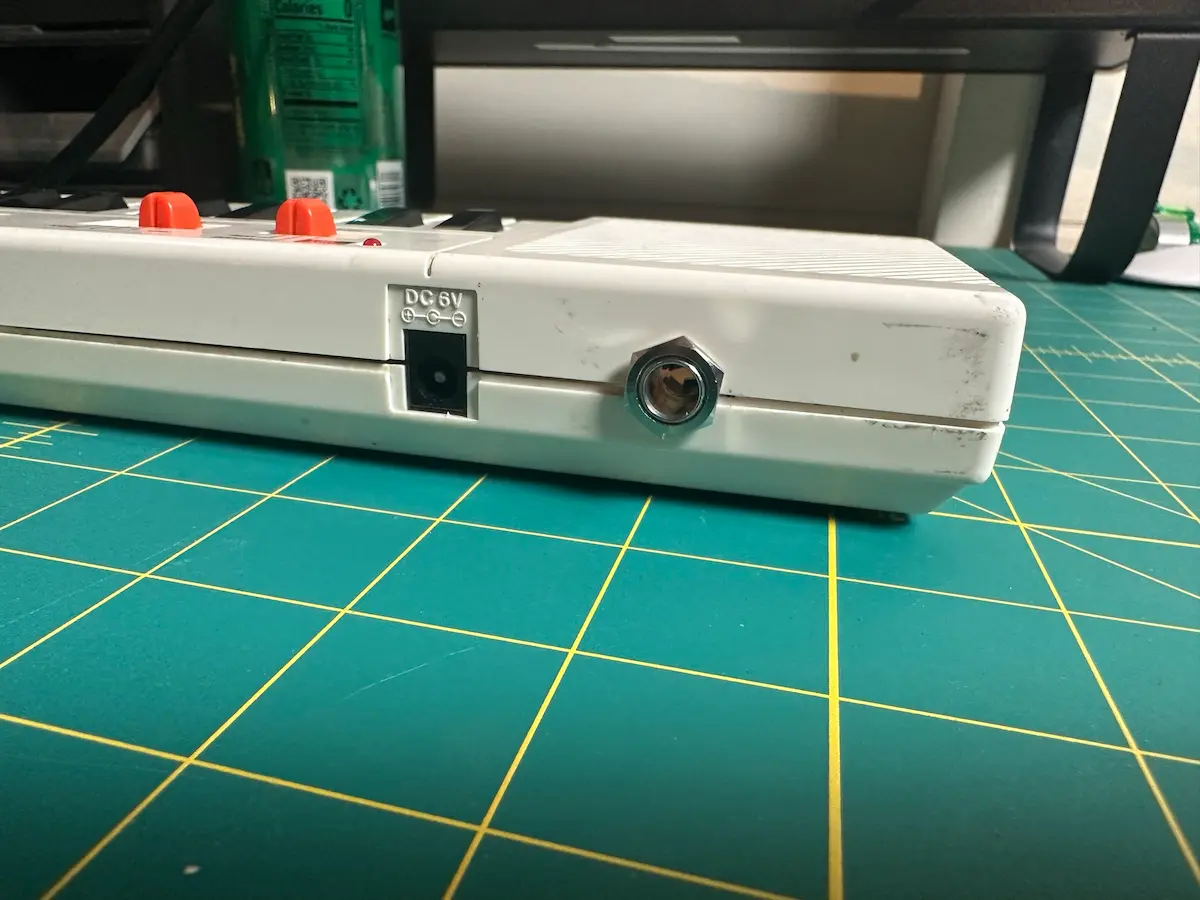
Step 8: Screw on the nut to hold the 1/4″ connector in place
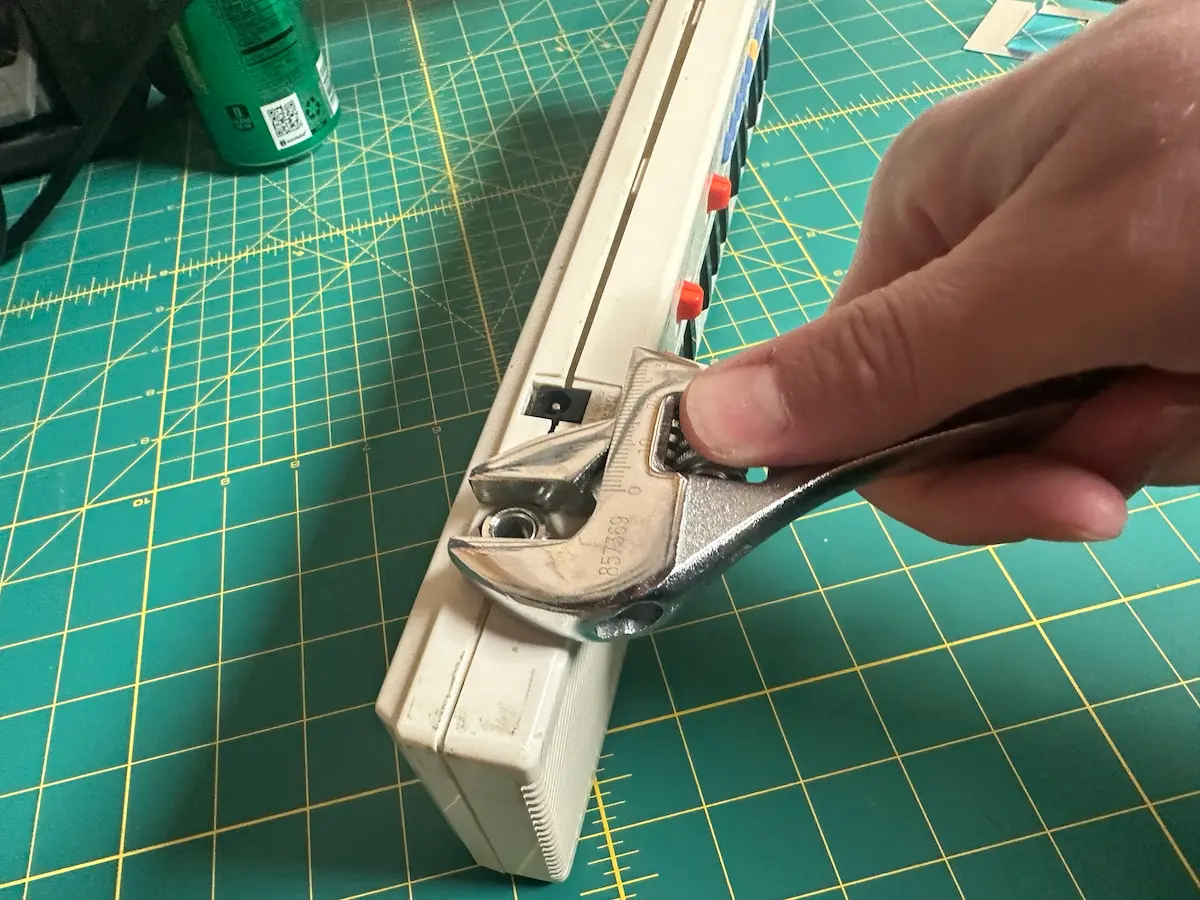
I used a crescent wrench to tighten up the connector.
Step 9: Connect the backplate

Connect the backplate of the PT-10 with the original screws. Once put back together, you’re all done!
And if you want to use this keyboard in a project, I made a free VST!